- 首頁
- 互聯(lián)網(wǎng)+
- 宿管無感考勤子系統(tǒng)
- 人臉識別教室點名
- 人臉識別校車定位
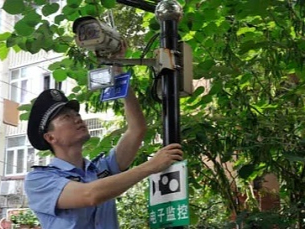
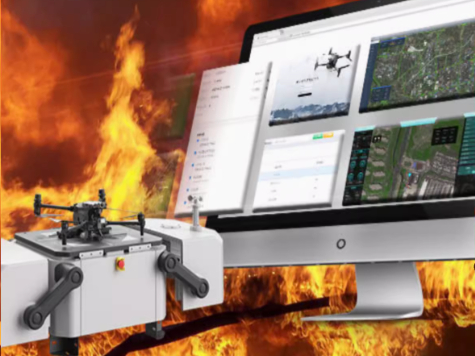
- 人臉布控預(yù)警
- 智能一體化會議
智慧園區(qū)
- 智能會議系統(tǒng)
- OCR高精度識別
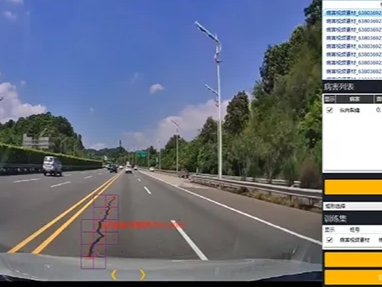
- 道路智能養(yǎng)護
- 警察服裝體驗系統(tǒng)
- 校園防疫平臺
業(yè)務(wù)管理系統(tǒng)
- 智慧場館
- 智慧社區(qū)
- 工業(yè)質(zhì)檢
- 運動健康
- 新能源
- 智慧農(nóng)業(yè)
智能物聯(lián)網(wǎng)
- 定制開發(fā)
- 聰明屋視角
- 技術(shù)VC
- 關(guān)于我們
- 聯(lián)系我們

- B2C單商戶版
- B2C多商戶版
- 眾拼分銷商城
- 在線拍賣系統(tǒng)
- 連鎖店鋪收銀系統(tǒng)
電商系統(tǒng)
- 大數(shù)據(jù)精算平臺
- 基金結(jié)算與管理
- 區(qū)塊鏈技術(shù)
財務(wù)管理系統(tǒng)
- 會議系統(tǒng)
- OCR高精度識別
- 道路智能養(yǎng)護
- 警服智能體驗系統(tǒng)
- 教育監(jiān)管系統(tǒng)
業(yè)務(wù)管理系統(tǒng)
- 游戲定制
- Vchat客服聊天系統(tǒng)
- 高端網(wǎng)站定制
- 微信公眾號開發(fā)
- 微信小程序開發(fā)
其他系統(tǒng)